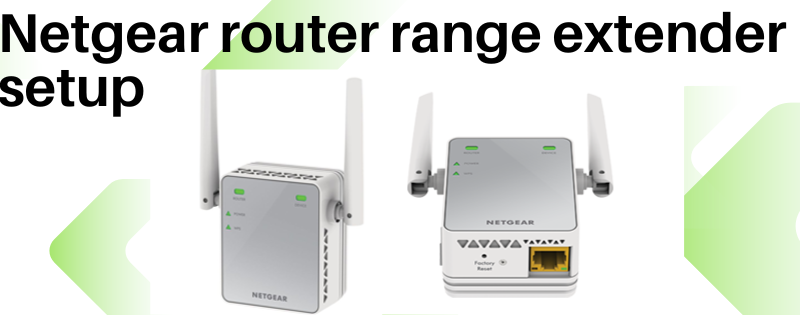
Netgear router range extender setup
Netgear router range extender are designed to boost the existing Wi-Fi signal, extending its reach to areas where it was previously weak or non-existent. Setting up a Netgear range extender is a relatively straightforward process, but it requires careful attention to detail to ensure optimal performance.
Understanding the Need for Range Extenders
Before diving into the setup process, it’s essential to understand why range extenders are necessary. In larger homes or offices, the signal from a single router may not cover every corner adequately. Factors such as distance, obstacles, and interference can weaken the signal, resulting in dead zones where devices struggle to connect to the network.
Preparation for Setup
Before diving into the setup process, there are a few things you’ll need to consider and prepare:
- Location: Choose a central location for the range extender, preferably halfway between your router and the areas with poor Wi-Fi coverage.
- Power Outlet: Ensure that you have access to a nearby power outlet for the range extender.
- Network Information: Have your Wi-Fi network name (SSID) and password handy.
Step-by-Step Guide for Netgear Router Range Extender Setup
Connecting the Range Extender
- Plug the range extender into a power outlet within the range of your existing Wi-Fi network.
- Wait for the power LED on the extender to turn solid green.
Accessing the Setup Interface
- On your Wi-Fi-enabled device, open the list of available networks and connect to the extender’s default SSID.
- Once connected, open a web browser and enter the default IP address for the extender (192.168.1.250) in the address bar.
- You’ll be prompted to enter a username and password. Use the default credentials or the credentials provided with the extender.
Configuring the Range Extender Settings
- Follow the on-screen instructions to complete the setup wizard.
- Choose the option to connect the extender to an existing Wi-Fi network.
- Select your existing network from the list and enter the password when prompted.
- Customise the extender settings as desired, including the network name (SSID) and password.
Troubleshooting Common Issues
Despite following the Netgear router range extender setup process diligently, you may encounter some common issues. Here are a few troubleshooting steps:
Connection Problems
- Ensure that the extender is placed within the range of your router’s Wi-Fi signal.
- Check for any obstacles or interference that may be affecting the signal.
- Restart both the router and the extender and try reconnecting.
Firmware Updates
- Check for firmware updates for your range extender regularly and install them as needed. This can often resolve compatibility issues and improve performance.
Optimising Performance
To get the most out of your Netgear range extender, consider the following tips:
- Placement of the Range Extender: Position the extender midway between your router and the areas with weak Wi-Fi coverage for optimal signal strength.
- Security Considerations: Ensure that your Wi-Fi network is secure by using strong passwords and enabling encryption protocols such as WPA2.
Tips for Optimal Performance
To ensure optimal performance and maximise the effectiveness of your Netgear router range extender, consider the following tips:
- Placement: Position the extender in a central location away from obstructions and interference sources.
- Avoiding Interference: Minimise interference from other electronic devices by selecting the least congested Wi-Fi channels.
- Regular Maintenance and Updates: Keep your extender firmware up to date and perform regular maintenance tasks such as rebooting the device.
Conclusion
In conclusion, setting up a Netgear router range extender is a straightforward process that can significantly improve your Wi-Fi coverage and performance. By following the steps outlined in this guide and taking advantage of advanced configuration options and performance tips, you can ensure seamless connectivity throughout your space.

